Single Sign-On (SSO) Configuration
Tier: Pro, Enterprise
Stirling-PDF allows login via Single Sign-On (SSO) using OAuth 2 OpenID Connect (OIDC) and SAML 2. This allows you to log in to the app using an account you may have with another Provider such as Google or GitHub.
OAuth 2 Set Up
To enable OAuth 2 in Stirling-PDF there are a number of properties you must set. Begin by setting security.enableLogin
to true and security.loginMethod to oauth2 in your /configs/settings.yml.
security:
  enableLogin: true
  ...
  loginMethod: all | normal | oauth2 | saml2
enableLogin: Set totrueto enable loginloginMethod: Defines the type of login method that will be used on application start up. The available options are:all: Enables all login methods (username/password, OAuth 2, SAML 2). Can be used alternatively tooauth2normal: Enables the username/password login methodoauth2: Enables the OAuth 2 login method. Use this if you only want to log in via OAuth 2saml2: Enables the SAML 2 login method
Next, you will need to configure the OAuth 2 properties for your chosen Provider. Start by setting
security.oauth2.enabled to true. Stirling-PDF supports multiple Providers, in particular
Google, GitHub and Keycloak.
You also have the option to use a different Provider apart from the aforementioned if you wish.
⚠️ Note
The
enableLoginproperty must be set totruefor SSO to work.
- GitHub
- Keycloak
- Other
oauth2:
  enabled: true
  client:
    google:
      clientId: <YOUR_CLIENT_ID>
      clientSecret: <YOUR_CLIENT_SECRET>
      scopes: email, profile
      useAsUsername: email | name | given_name | family_name
  provider: google
oauth2:
  enabled: true
  client:
    github:
      clientId: <YOUR_CLIENT_ID>
      clientSecret: <YOUR_CLIENT_SECRET>
      scopes: read:user
      useAsUsername: email | login | name
  provider: github
oauth2:
  enabled: true
  client:
    keycloak:
      issuer: <YOUR_ISSUER_URI>
      clientId: <YOUR_CLIENT_ID>
      clientSecret: <YOUR_CLIENT_SECRET>
      scopes: openid, profile, email
      useAsUsername: email | preferred_name
  provider: keycloak
Using Authentik for example:
oauth2:
  enabled: true
issuer: <YOUR_ISSUER_URI>
clientId: <YOUR_CLIENT_ID>
clientSecret: <YOUR_CLIENT_SECRET>
autoCreateUser: true
blockRegistration: false
useAsUsername: email | name | given_name | nickname | preferred_name
scopes: openid, profile, email
provider: authentik
security.oauth2.enabledSet this totrueto enable loginsecurity.oauth2.issuerThe URL for the Provider's OpenID Configuration. Set this to any Provider that supports an OpenID Connect Discovery/.well-known/openid-configurationendpointsecurity.oauth2.clientIdClient ID from your Providersecurity.oauth2.clientSecretClient Secret from your Providersecurity.oauth2.autoCreateUserSet this totrueto allow auto-creation of non-existing userssecurity.oauth2.blockRegistration: Set totrueto deny login with SSO without prior registration by an adminsecurity.oauth2.useAsUsername: The value from the Provider to use as the username for the application. Check with your Provider for specific options. The default isemailsecurity.oauth2.scopes: Specifies the list of scopes for which the application will request permissions. The available scopes for Google and GitHub can be found here and heresecurity.oauth2.provider: The name of the Provider
The Callback URL (Redirect URL) for entering in your IdP is: https://<striling-pdf.yourdomain>/login/oauth2/code/<oidc-provider> eg https://<striling-pdf.yourdomain>/login/oauth2/code/keycloak.
It is highly recommended to use an SSL-enabled reverse-proxy, if the application is going to be exposed to the internet.
After the OAuth 2 login is enabled, a new button will show up on the login page as per the screenshot below. Clicking the 'Login via Single Sign-On' button will present you with the login for your Provider of choice. Once you have clicked the button, you will be redirected to your Provider in order to login and authorise Stirling-PDF to use your profile:
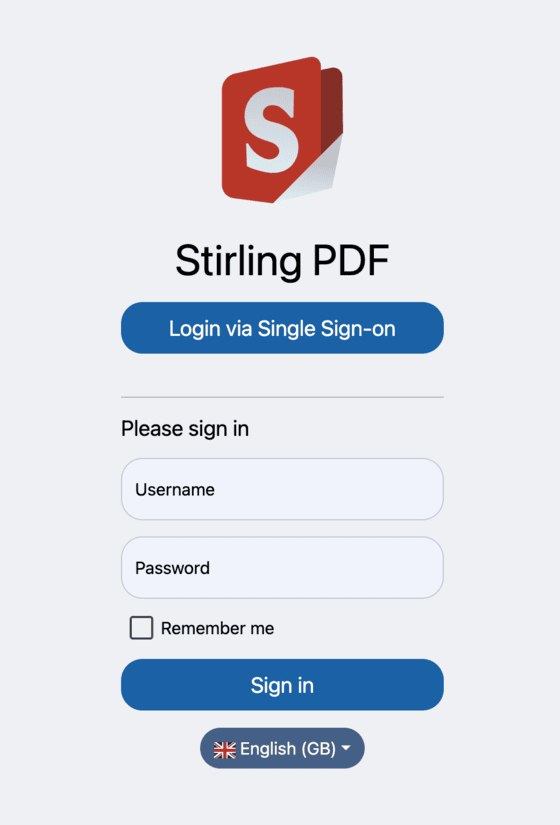 |  |
|---|
SAML 2 Set Up
⚠️ Note
SAML 2 is an enterprise-only feature. To use it you must have
premium.enabledset totrueand have a valid license key.
Begin by setting security.enableLogin to true and security.loginMethod to saml2 in your /configs/settings.yml.
saml2:
  enabled: true
  provider: <PROVIDER_NAME>
  autoCreateUser: true
  blockRegistration: false
  registrationId: <REGISTRATION_ID>
  idpMetadataUri: <PROVIDER_METADATA_URI>
  idpSingleLoginUrl: <PROVIDER_SSO_URL>
  idpSingleLogoutUrl: <PROVIDER_SLO_URL>
  idpIssuer: <PROVIDER_ISSUER_ID>
  idpCert: classpath:<PROVIDER_SELF-SIGNED_CERTIFICATE>
  privateKey: classpath:<YOUR_PRIVATE_KEY>
  spCert: classpath:<YOUR_CERTIFICATE>
security.saml2.enabled: Set totrueto activate SAML 2 SSO # Only enabled for paid enterprise clients (enterpriseEdition.enabled must be true)security.saml2.autoCreateUser: Set this totrueto allow auto-creation of non-existing userssecurity.saml2.blockRegistration: Set totrueto deny login with SSO without prior registration by an adminsecurity.saml2.registrationId: The registration ID for your Provider. Should match the name in the path for your Assertion Consumer Service (ACS) URL The default isstirlingsecurity.saml2.idpMetadataUri: The location of the metadata file from your Provider. Can be a file or URIsecurity.saml2.idpSingleLoginUrl: The URL given by your Provider to initiate the SSO flowsecurity.saml2.idpSingleLogoutUrl: The URL given by your Provider to initiate the SLO flowsecurity.saml2.idpIssuer: The name of your Providersecurity.saml2.idpCert: The signing certificate given by your Provider in.pemformat. Place instirling-pdf/src/main/resourcessecurity.saml2.privateKey: Your private key from your keypair in.keyformat. Place instirling-pdf/src/main/resourcessecurity.saml2.spCert: classpath:certificate.crt from your keypair in.crtformat. Place instirling-pdf/src/main/resources
Generating a Keypair
To generate a keypair for the app to use for signing and verification, enter this command in your terminal:
openssl req -newkey rsa:2048 -nodes -keyout private_key.key -x509 -days 365 -out certificate.crt
openssl req: This starts the OpenSSL command to create or manage a certificate signing request (CSR) or certificatenewkey rsa:2048: This generates a new key pair using the RSA algorithm with a key size of 2048 bits. RSA 2048 is a common and secure key sizenodes: Skips encrypting the private key (no passphrase). If omitted, you would be prompted to set a password for the key, which would be required whenever using it. With -nodes, the private key is generated in plain text for easier use in automated systemskeyout private_key.key: Specifies the file name where the private key will be savedx509: This tells OpenSSL to create a self-signed certificate instead of generating a certificate signing request (CSR) A self-signed certificate is not verified by a Certificate Authority (CA), which is why browsers may display a security warning when using itdays 365: Specifies the certificate's validity period (in days). In this case, the certificate is valid for 365 daysout certificate.crt: Specifies the output file where the self-signed certificate will be saved
After generating the keypair, the .key and .crt files should be located in the directory you executed the above command in.
Move the files to stirling-pdf/src/main/resources.
Once you have added your configuration, you should see the button for your chosen Provider on the login page prompting you to log in:
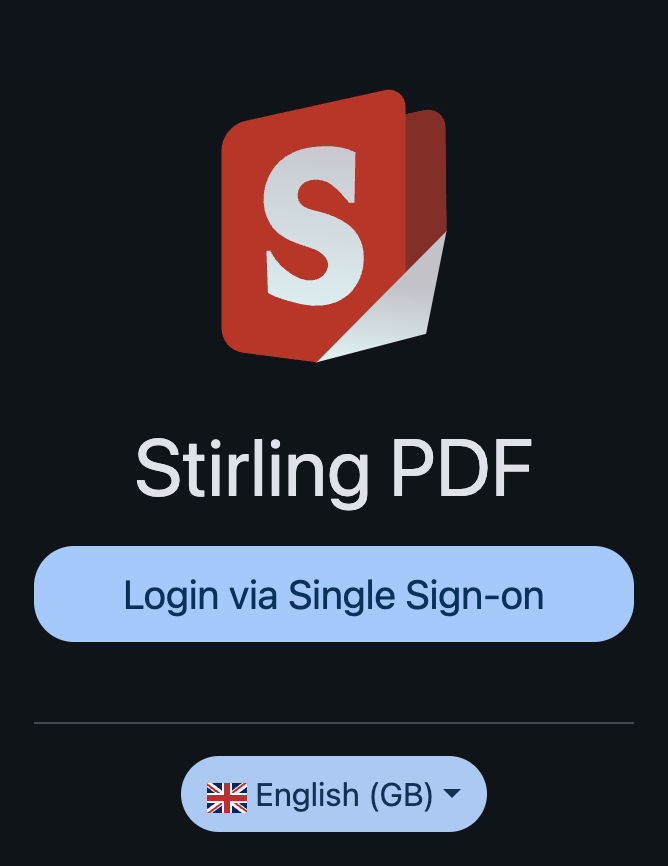 |  |
|---|
Auto-login
⚠️ Note
Auto Login is an enterprise-only feature. To use it you must have
premium.enabledset totrueand have a valid license key.
It is also possible to automatically log in to Stirling PDF on start-up using SSO. To enable this feature, set the
property premium.proFeatures.SSOAutoLogin to true.
This will redirect to your SSO's URL when any user navigates to Stirling-PDF's default login screen. If a login fails 3 times this redirection is disabled
Configurations Examples
Below are examples of the full configuration for both OAuth 2 and SAML 2:
- Settings File
- Local Environment
- Docker Run
- Docker Compose
security:
  enableLogin: true # set to 'true' to enable login
  oauth2:
    issuer: <ISSUER_URI>
    clientId: <CLIENT_ID>
    clientSecret: <CLIENT_SECRET>
    autoCreateUser: true
    blockRegistration: false
    useAsUsername: email
    scopes: openid, profile, email
    provider: <PROVIDER_NAME>
  saml2:
    enabled: true
    autoCreateUser: true
    blockRegistration: false
    registrationId: <REGISTRATION_ID>
    idpMetadataUri: <PROVIDER_METADATA_URI>
    idpSingleLoginUrl: <PROVIDER_SSO_URL>
    idpSingleLogoutUrl: <PROVIDER_SLO_URL>
    idpIssuer: <PROVIDER_NAME>
    idpCert: classpath:<PROVIDER_SELF-SIGNED_CERTIFICATE>
    privateKey: classpath:<YOUR_PRIVATE_KEY>
    spCert: classpath:<YOUR_CERTIFICATE>
export DISABLE_ADDITIONAL_FEATURES=false
export SECURITY_ENABLELOGIN=true
export SECURITY_OAUTH2_ENABLED=true
export SECURITY_OAUTH2_AUTOCREATEUSER=false
export SECURITY_OAUTH2_ISSUER="<ISSUER_URI>"
export SECURITY_OAUTH2_CLIENTID="<CLIENT_ID>"
export SECURITY_OAUTH2_CLIENTSECRET="<CLIENT_SECRET>"
export SECURITY_OAUTH2_BLOCKREGISTRATION=false
export SECURITY_OAUTH2_SCOPES="openid, profile, email"
export SECURITY_OAUTH2_USEASUSERNAME=email
export SECURITY_OAUTH2_PROVIDER="<PROVIDER_NAME>"

export SECURITY_SAML2_ENABLED=true
export SECURITY_SAML2_AUTOCREATEUSER=false
export SECURITY_SAML2_REGISTRATIONID="<REGISTRATION_ID>"
export SECURITY_SAML2_BLOCKREGISTRATION=false
export SECURITY_SAML2_IDPISSUER="<ISSUER_URI>"
export SECURITY_SAML2_IDPMETADATAURI=true
export SECURITY_SAML2_IDPSINGLELOGINURL="<PROVIDER_SSO_URL>"
export SECURITY_SAML2_IDPSINGLELOGOUTURL="<PROVIDER_SLO_URL>"
export SECURITY_SAML2_IDPCERT="<PROVIDER_SELF-SIGNED_CERTIFICATE>"
export SECURITY_SAML2_PRIVATEKEY="<YOUR_PRIVATE_KEY>"
export SECURITY_SAML2_SPCERT="<YOUR_CERTIFICATE>"
-e DISABLE_ADDITIONAL_FEATURES=false \
-e SECURITY_ENABLELOGIN=true \
-e SECURITY_OAUTH2_ENABLED=true \
-e SECURITY_OAUTH2_AUTOCREATEUSER=false \
-e SECURITY_OAUTH2_ISSUER="<ISSUER_URI>" \
-e SECURITY_OAUTH2_CLIENTID="<CLIENT_ID>" \
-e SECURITY_OAUTH2_CLIENTSECRET="<CLIENT_SECRET>" \
-e SECURITY_OAUTH2_BLOCKREGISTRATION=false \
-e SECURITY_OAUTH2_SCOPES="openid, profile, email" \
-e SECURITY_OAUTH2_USEASUSERNAME=email \
-e SECURITY_OAUTH2_PROVIDER="<PROVIDER>" \
-e SECURITY_SAML2_ENABLED=true \
-e SECURITY_SAML2_AUTOCREATEUSER=false \
-e SECURITY_SAML2_BLOCKREGISTRATION=false \
-e SECURITY_SAML2_REGISTRATIONID="<REGISTRATION_ID>" \
-e SECURITY_SAML2_IDPISSUER="<ISSUER_URI>" \
-e SECURITY_SAML2_IDPMETADATAURI="<CLIENT_ID>" \
-e SECURITY_SAML2_IDPSINGLELOGINURL="<PROVIDER_SSO_URL>" \
-e SECURITY_SAML2_IDPSINGLELOGOUTURL="<PROVIDER_SLO_URL>" \
-e SECURITY_SAML2_IDPCERT="<CLIENT_SECRET>" \
-e SECURITY_SAML2_PRIVATEKEY="<CLIENT_SECRET>" \
-e SECURITY_SAML2_SPCERT="<YOUR_CERTIFICATE>" \
environment:
  DISABLE_ADDITIONAL_FEATURES=false
  SECURITY_ENABLELOGIN=true
  SECURITY_OAUTH2_ENABLED=true
  SECURITY_OAUTH2_AUTOCREATEUSER=false
  SECURITY_OAUTH2_ISSUER="<ISSUER_URI>"
  SECURITY_OAUTH2_CLIENTID="<CLIENT_ID>"
  SECURITY_OAUTH2_CLIENTSECRET="<CLIENT_SECRET>"
  SECURITY_OAUTH2_BLOCKREGISTRATION=false
  SECURITY_OAUTH2_SCOPES="openid, profile, email"
  SECURITY_OAUTH2_USEASUSERNAME=email
  SECURITY_OAUTH2_PROVIDER="<PROVIDER>"

  SECURITY_SAML2_ENABLED=true
  SECURITY_SAML2_AUTOCREATEUSER=false
  SECURITY_SAML2_REGISTRATIONID=<REGISTRATION_ID>
  SECURITY_SAML2_BLOCKREGISTRATION=false
  SECURITY_SAML2_IDPISSUER="<ISSUER_URI>"
  SECURITY_SAML2_IDPMETADATAURI=true
  SECURITY_SAML2_IDPSINGLELOGINURL="<PROVIDER_SSO_URL>"
  SECURITY_SAML2_IDPSINGLELOGOUTURLSECURITY_SAML2_IDPSINGLELOGOUTURL="<PROVIDER_SLO_URL>"
  SECURITY_SAML2_IDPCERT="<PROVIDER_SELF-SIGNED_CERTIFICATE>"
  SECURITY_SAML2_PRIVATEKEY="<YOUR_PRIVATE_KEY>"
  SECURITY_SAML2_SPCERT="<YOUR_CERTIFICATE>"
Disable Form Login
Once you successfully enabled Single Sign-on (with OAuth2 or SAML), you might want to disable the form login.
This can be done by changing the loginMethod setting accordingly to your needs, like so:
- Settings File
- Docker Run
- Docker Compose
security:
  ...
  loginMethod: oauth2 # Accepts values like 'all' and 'normal'(only Login with Username/Password), 'oauth2'(only
-e SECURITY_LOGINMETHOD="oauth2" # to enable oauth2 only
environment:
  ...
  SECURITY_LOGINMETHOD: "oauth2" # to enable oauth2 only